Today, we will create a very simple Machine Translation (MT) Web Interface for OpenNMT-py, OpenNMT-tf and FairSeq models using CTranslate2 and Streamlit.
Previously, there were other tutorials on how to use a simple server and web interface with Flask. However, today’s tutorial is for those who want to create an ultra simple, quick demo.
We also aim at highlighting that CTranslate2 is now the way to go for serving OpenNMT models due to its exceptional performance. It is completely up to you to use it in a simple way like what we will do here, or to integrate it into a REST API for advanced uses.
So let’s start…
Table of Contents:
- Objective: Simple Machine Translation Web Interface
- Install Requirements
- Convert Model to CTranslate2
- Create Your App
- Next Steps
Objective: Simple Machine Translation Web Interface
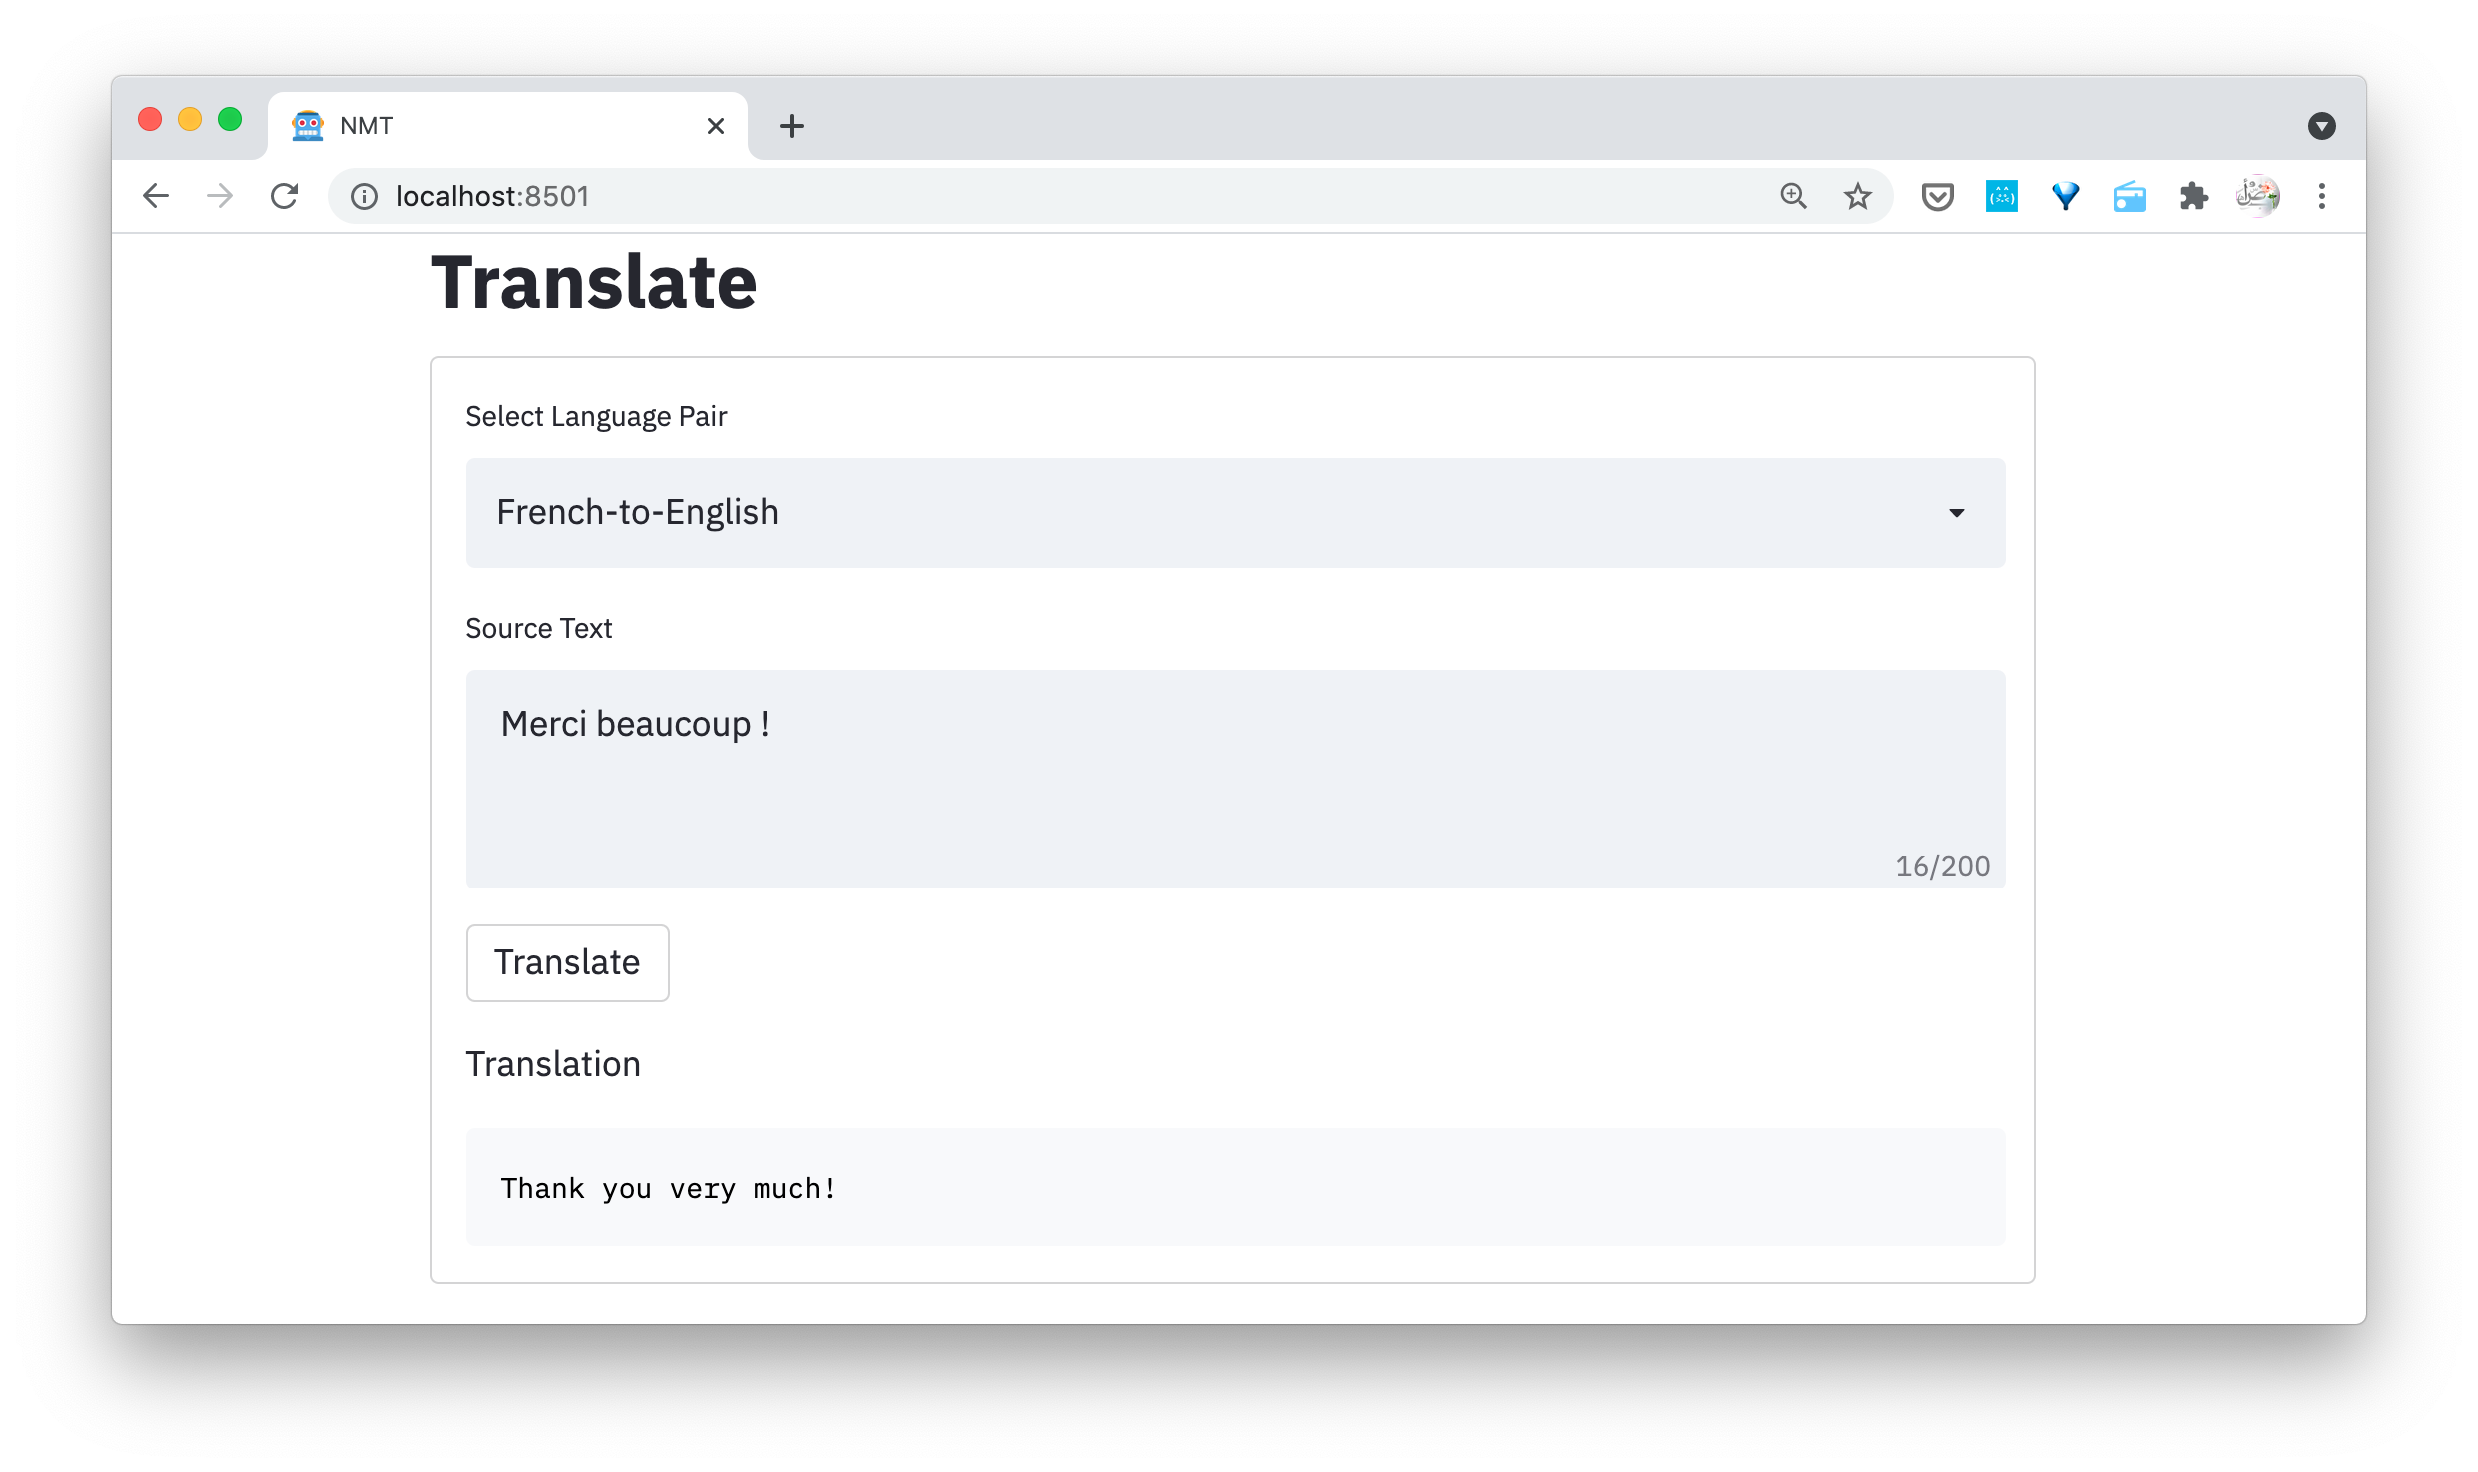
Our objective is to develop a simple web interface for Machine Translation like this one.

Install Requirements
Optional: Create and Activate a Virtual Environment
- Install
virtualenv:pip3 install virtualenv - Create a virtual environment, e.g.
myvenv:virtualenv myvenv --python=python3 - Activate the virtual environment:
source myvenv/web/bin/activate
Install Required Libraries
pip3 install ctranslate2 sentencepiece streamlit watchdog nltk
Convert Model to CTranslate2
CTranslate2 supports both OpenNMT-py and OpenNMT-tf models. As of version 2.0, it also supports FairSeq models. However, you need to convert your model to the CTranslate2 format before using it.
The following commands are simply copied from the CTranslate2 repository, and tested to make sure they are up-to-date. This example uses pre-trained Transformer English-German models. If you trained your own model, run the same commands on it instead.
For an OpenNMT-py model:
pip3 install OpenNMT-py

wget https://s3.amazonaws.com/opennmt-models/transformer-ende-wmt-pyOnmt.tar.gz
tar xf transformer-ende-wmt-pyOnmt.tar.gz

ct2-opennmt-py-converter --model_path averaged-10-epoch.pt --output_dir ende_ctranslate2 --quantization int8
For an OpenNMT-tf model:
pip3 install OpenNMT-tf

wget https://s3.amazonaws.com/opennmt-models/averaged-ende-ckpt500k-v2.tar.gz
tar xf averaged-ende-ckpt500k-v2.tar.gz

ct2-opennmt-tf-converter --model_path averaged-ende-ckpt500k-v2 --output_dir ende_ctranslate2 \
    --src_vocab averaged-ende-ckpt500k-v2/wmtende.vocab \
    --tgt_vocab averaged-ende-ckpt500k-v2/wmtende.vocab \
    --model_type TransformerBase \
    --quantization int8
For a FairSeq model:
ct2-fairseq-converterconverter --model_path $MODEL --data_dir dict --fixed_dictionary $DICT --output_dir $OUTPUT --quantization int8
As you can see, we used the option --quantization int8 to imporve both the size and the performance of the model.
CTranslate2 Python Sample
Let’s make sure that CTranslate2 works properly in our setup by running this Python code:
import ctranslate2
translator = ctranslate2.Translator("ende_ctranslate2/")
translator.translate_batch([["▁H", "ello", "▁world", "!"]])
Note: translate_batch() can take a list of sentences and translate them in batches, which would be very efficient. Here we are using only one sentence as an example for demonstration purposes.
You can also check this detailed example that opens a file and translates it with CTranslate2.
Create Your App
Test App
Let’s first create a small app to see how Streamlit works.
Create a file called test.py for example and add the following lines to it.
import streamlit as st

st.title("Upper My Text")

user_input = st.text_input("Write something and press Enter \
    to convert it to the UPPER case.")

if len(user_input) > 0:
    output = user_input.upper()
    st.info(output)
Launch your test app by opening the Terminal and running the following command.
streamlit run test.py
If everything works as expected, you should see something like this in your browser at the URL http://localhost:8501. Once you type a text and press Enter, the text will be printed in the UPPER case.

Translation App
Let’s now develop our translation web interface. Create a file called translate.py for example, and add the following to it.
import streamlit as st
import sentencepiece as spm
import ctranslate2
from nltk import sent_tokenize


def translate(source, translator, sp_source_model, sp_target_model):
    """Use CTranslate model to translate a sentence

    Args:
        source (str): Source sentences to translate
        translator (object): Object of Translator, with the CTranslate2 model
        sp_source_model (object): Object of SentencePieceProcessor, with the SentencePiece source model
        sp_target_model (object): Object of SentencePieceProcessor, with the SentencePiece target model
    Returns:
        Translation of the source text
    """

    source_sentences = sent_tokenize(source)
    source_tokenized = sp_source_model.encode(source_sentences, out_type=str)
    translations = translator.translate_batch(source_tokenized)
    translations = [translation[0]["tokens"] for translation in translations]
    translations_detokenized = sp_target_model.decode(translations)
    translation = " ".join(translations_detokenized)

    return translation


# [Modify] File paths here to the CTranslate2 SentencePiece models.
ct_model_path = "/path/to/the/ctranslate/model/directory"
sp_source_model_path = "/path/to/the/sentencepiece/source/model/file"
sp_target_model_path = "/path/to/the/sentencepiece/target/model/file"

# Create objects of CTranslate2 Translator and SentencePieceProcessor to load the models
translator = ctranslate2.Translator(ct_model_path, "cpu")    # or "cuda" for GPU
sp_source_model = spm.SentencePieceProcessor(sp_source_model_path)
sp_target_model = spm.SentencePieceProcessor(sp_target_model_path)


# Title for the page and nice icon
st.set_page_config(page_title="NMT", page_icon="🤖")
# Header
st.title("Translate")

# Form to add your items
with st.form("my_form"):
    # Textarea to type the source text.
    user_input = st.text_area("Source Text", max_chars=200)
    # Translate with CTranslate2 model
    translation = translate(user_input, translator, sp_source_model, sp_target_model)

    # Create a button
    submitted = st.form_submit_button("Translate")
    # If the button pressed, print the translation
    # Here, we use "st.info", but you can try "st.write", "st.code", or "st.success".
    if submitted:
        st.write("Translation")
        st.info(translation)
Note: Make sure you update the variables ct_model, sp_source_model, and sp_target_model with our own paths to the CTranslate2 model, and the SentencePiece source and target models.
Let’s launch our translator. Run the following command in the Terminal.
streamlit run translate.py
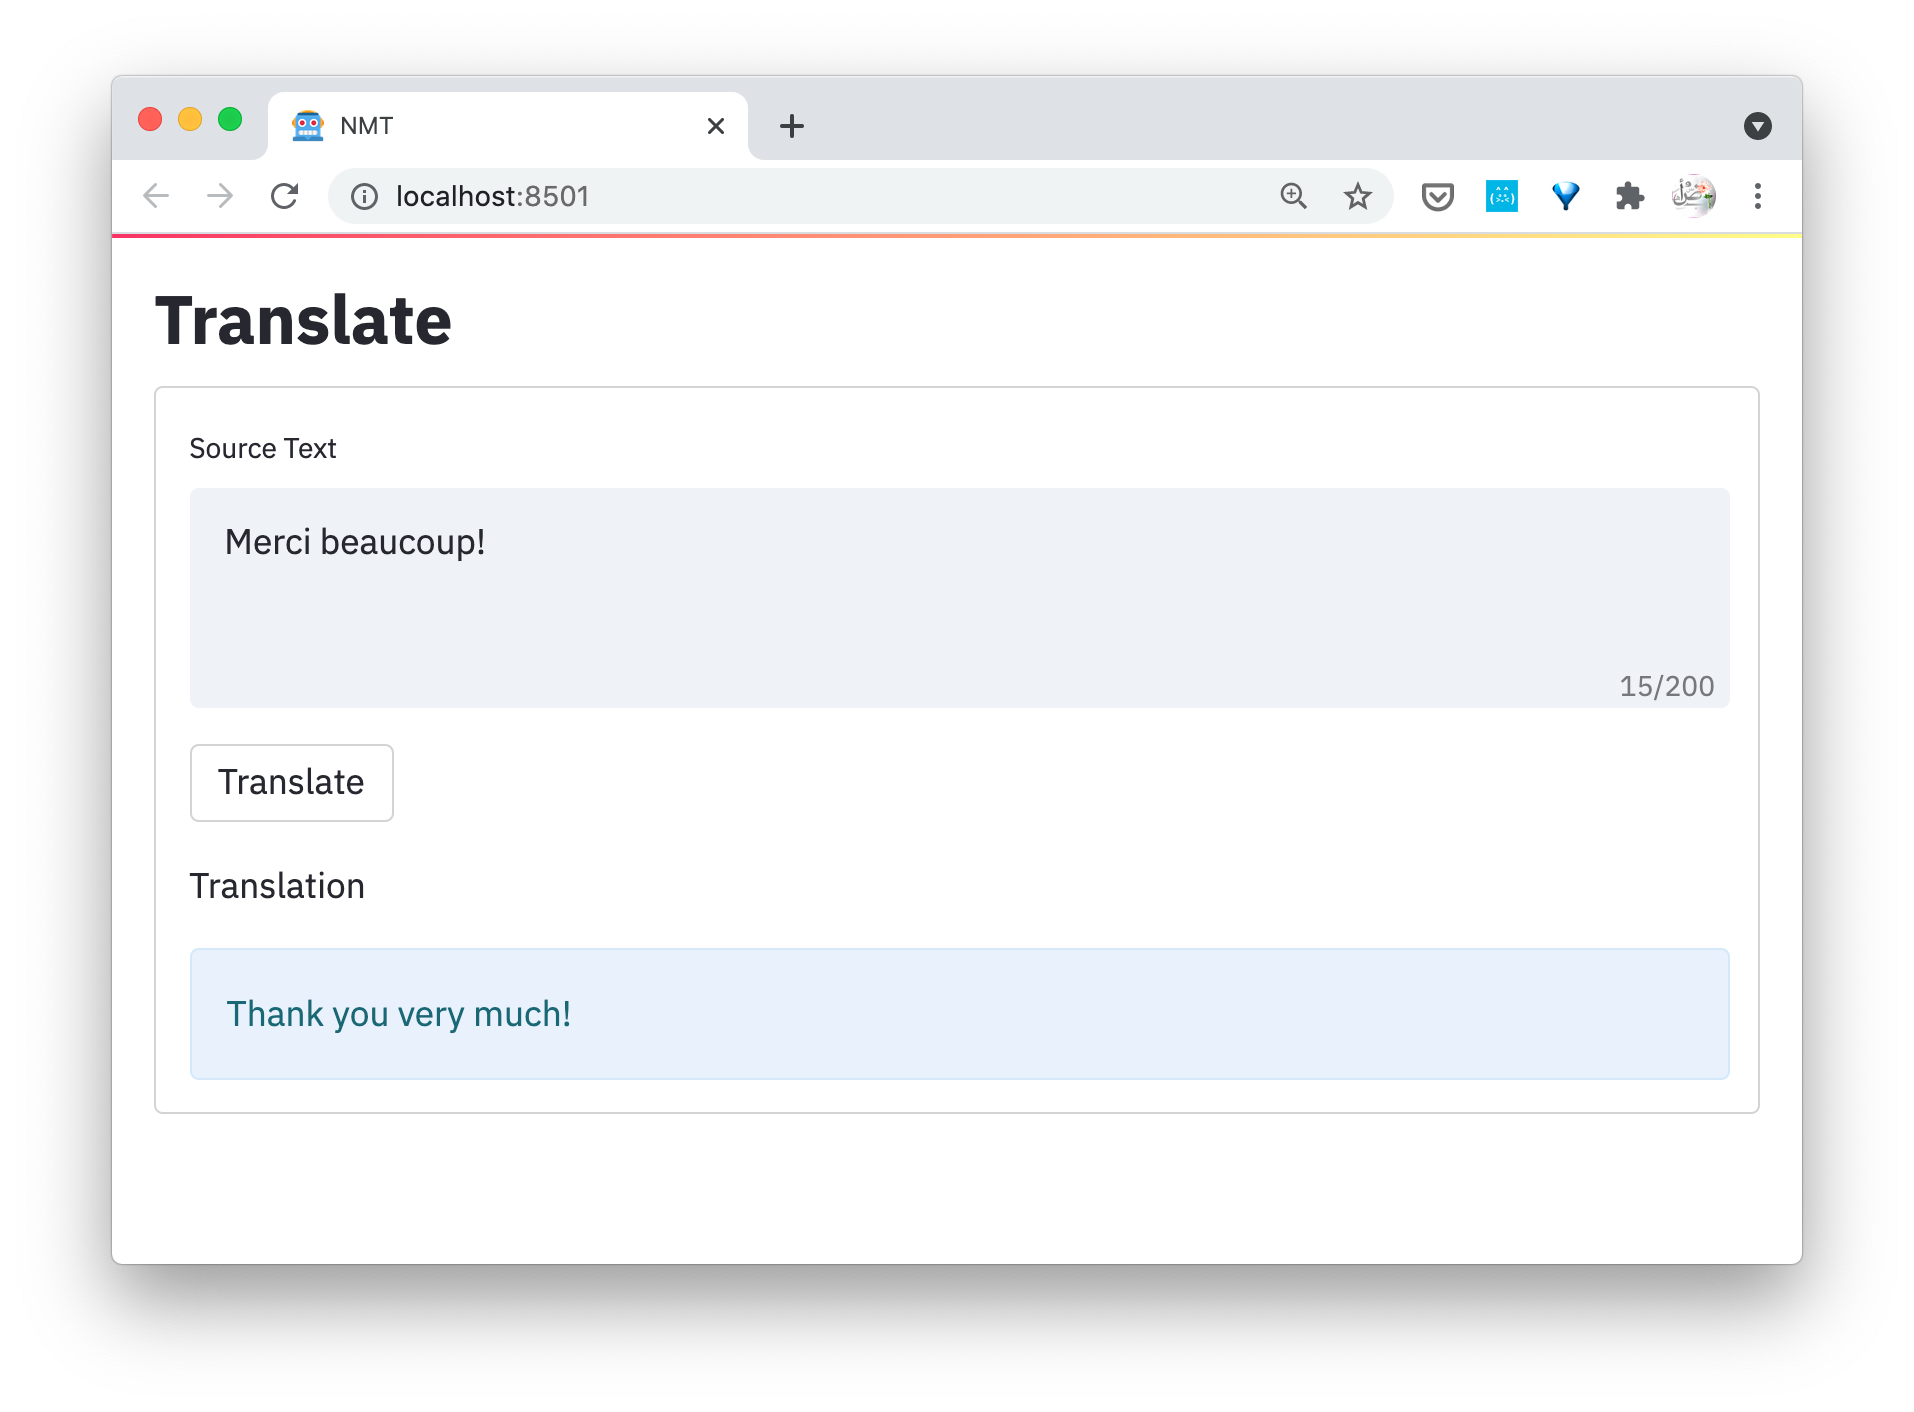
If everything works fine, you should see an output like this at the URL http://localhost:8501/
Try typing a sentence (in the same source language of your model) and press the button “Translate”. The translation should be printed as you see here!

Add Language Pairs
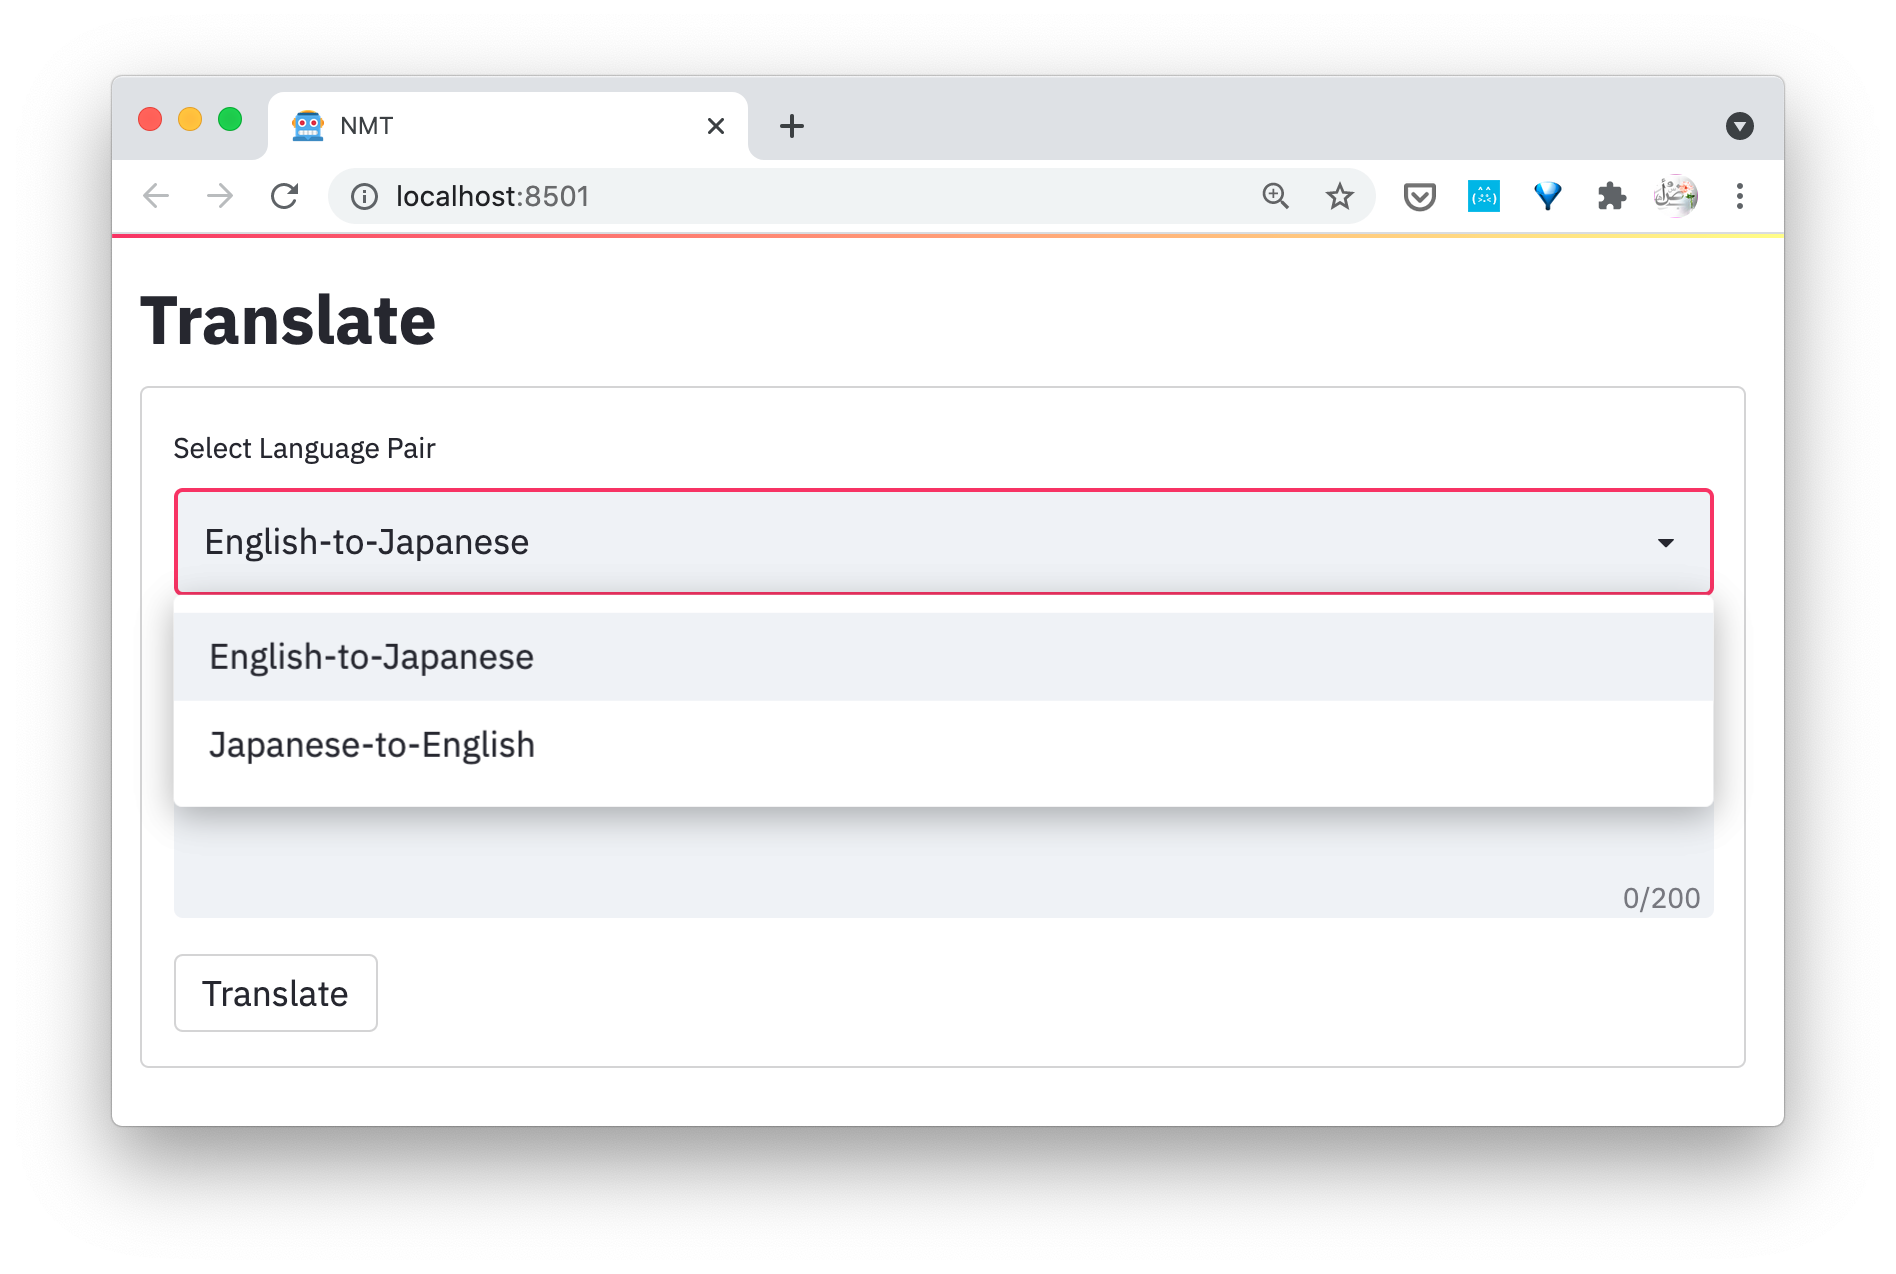
To give your visitor the option to select between multiple language pairs, you can add a dropdown menu like this one.

You can first change the paths part into a function:
def load_models(option):
    if option == "English-to-Japanese":
        ct_model_path = "path/to/your/ct_model"
        sp_source_model_path = "path/to/your/sp_source_model"
        sp_target_model_path = "path/to/your/sp_target_model"
    elif option == "Japanese-to-English":
        ct_model_path = "path/to/your/ct_model"
        sp_source_model_path = "path/to/your/sp_source_model"
        sp_target_model_path = "path/to/your/sp_target_model"

    translator = ctranslate2.Translator(ct_model_path)
    sp_source_model = spm.SentencePieceProcessor(sp_source_model_path)
    sp_target_model = spm.SentencePieceProcessor(sp_target_model_path)

    return translator, sp_source_model, sp_target_model
Then, you change the form to:
with st.form("my_form"):

    # Dropdown menu to select a language pair
    option = st.selectbox(
    "Select Language Pair",
    ("English-to-Japanese", "Japanese-to-English"))
    #st.write('You selected:', option)

    # Textarea to type the source text.
    user_input = st.text_area("Source Text", max_chars=200)

    # Load models
    translator, sp_source_model, sp_target_model = load_models(option)

    # Translate with CTranslate2 model
    translation = translate(user_input, translator, sp_source_model, sp_target_model)

    # Create a button
    submitted = st.form_submit_button("Translate")
    # If the button pressed, print the translation
    # Here, we use "st.info", but you can try "st.write", "st.code", or "st.success".
    if submitted:
        st.write("Translation")
        st.info(translation)
Full Code
I will be updating this repository with Python samples.
Next steps
Streamlit Components
Streamlit comes with more components. One of the most interesting NLP components you might want to check is spacy-streamlit
Deployment
You can deploy your app on any service of your choice. However, if you are looking for a free and easy option, consider using Heroku. For better performance, test your app with and without Streamlit’s caching option and see if it helps.
Thanks for reading! If you have questions or suggestions, feel free to contact me.